How to deploy your first application on IBM Cloud
Posted on 23 Jan 2019
This is the third article of the Getting started with Cloud Computing series. In this article, I want to show how to deploy your first application on IBM Cloud.
How explained in the previous article, IBM Cloud allows you to deploy your application written in programming languages like Java, Ruby, Node.js, Javascript, and others.
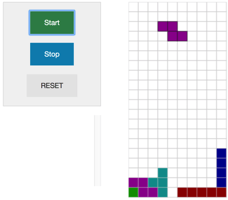
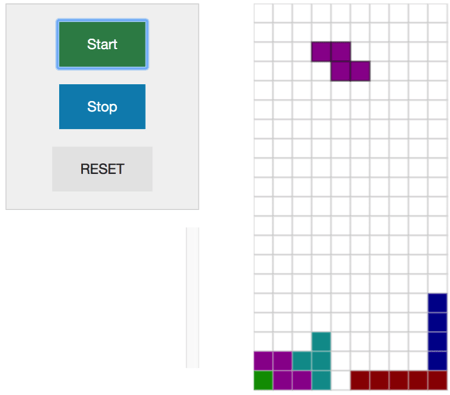
For this experiment, I forked a Node.js project on the Internet and modified it to make it IBM Cloud-ready. To make things funnier I chose a Tetris clone as an example. Here you can download my version of the game.
Introduction to your IBM Cloud workspace
As the first step of this tutorial, you need to create an IBM Cloud account. The steps to follow to accomplish this task are very intuitive and I avoid to put a step by step guide here because the web pages changed periodically every month or so.
Before you start you need to understand some basic Cloud Foundry concepts that will help you to feel comfortable when you will start to work with your application.
From your account, you can manage one or more Organization that represents your company or the business unit of your company. For each organization, you can have one or more Space. You can see a space like development, test, or production environment.
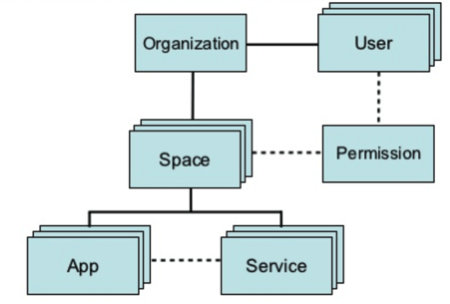
When you create an account, a default organization will be created with your email address as the name. You can change it if you want. By default, a default space is created called dev. You can change it too. In a Space, you can manage resources (i.e. the application) and services.
From the workspace you can click on the Create Resource button, select the Runtime Framework SDK for Node.js, fill the form with the following values:
- application name: multiplayertetris
- hostname: multiplayertetris
The system automatically will fill the fields Domain, Region, Organization, and Space. Click on the Create button. A Start Application (basically a Hello World application) will be deployed and started. It’s time to deploy your application.
Deploy the application on IBM Cloud with CLI
How to make your application IBM Cloud-ready
In this section, I will show you how I changed the forked application to make it deployable on IBM Cloud. First of all, I forked the application on my account and clone on my machine with the following commands:
cd <work_directory>
git clone https://github.com/sasadangelo/multiplayer-tetris
cd multiplayer-tetris
As a second step, I created a public folder and moved all the sources code in it except the package.json file. Then I removed some useless files like public/bower.json, public/db.js, and public/Procfile. The reason I removed these dependencies is to avoid problems with extra dependencies I noticed were not required to play the game.
In the root folder, I added a license and README file and the most important file to deploy the application on IBM Cloud: the manifest.yml file. Here the content:
applications:
- memory: 64M
  instances: 1
  domain: eu-gb.mybluemix.net
  name: MultiplayerTetris
  host: multiplayertetris
  disk_quota: 1024M
As you can notice I declared the memory to allocate for the application (64Mb), the number of instances (1), the domain, the application name, disk quota, and the hostname. It’s important that application and host names contain the same value inserted in the previous step.
How to run the application locally
To test the application on your machine you need to install Node.js from here. Then you can do the following steps:
npm install
npm start
You can access the application from the browser inserting the following URL in your browser http://localhost:6003.
How to deploy the application on IBM Cloud with CLI
If everything works fine you are ready to deploy the code on IBM Cloud. Before that, you need to download the IBM Cloud CLI and install it. You can read the procedure here.
To deploy the application on IBM Cloud using the following commands:
1. bluemix api https://api.<region>.bluemix.net
   where region can be:
       eu-gb, for London datacenter;
       eu-de, for Frankfurt datacenter;
       ng, for Dallas datacenter;
       au-syd, for Sydney datacenter;
       us-east, for Washington datacenter;
2. bluemix login -u <your email> -o <organization> -s <space>
3. bluemix app push MultiplayerTetris
You can see your application at the URL **https://multiplayertetris.
Deploy the application on IBM Cloud with Eclipse
You can develop your applications with Eclipse and deploy them directly from it. To do that, you need to download Eclipse Oxygen 3 that is already bundled with IBM Cloud server called Bluemix Server (Bluemix is the old brand name of IBM Cloud). You can also use Jetbrains IDE (IntelliJ, AndroidStudio, WebStorm, etc.) to develop your applications and deploy them on IBM Cloud.
How to import the application in Eclipse
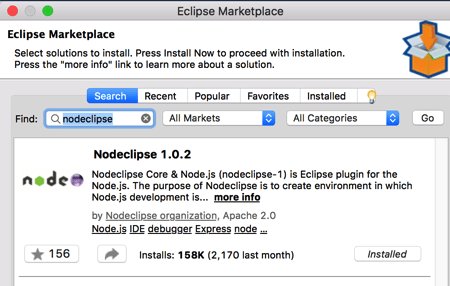
When you download the Eclipse Oxygen tar.gz file, extract it and open the Editor. As the first step, you need to install the nodeclipse plugin from the Eclipse Marketplace in order to develop the Node.js application. Go on Help -> Eclipse Marketplace, Search for nodeclipse, and install the plugin.
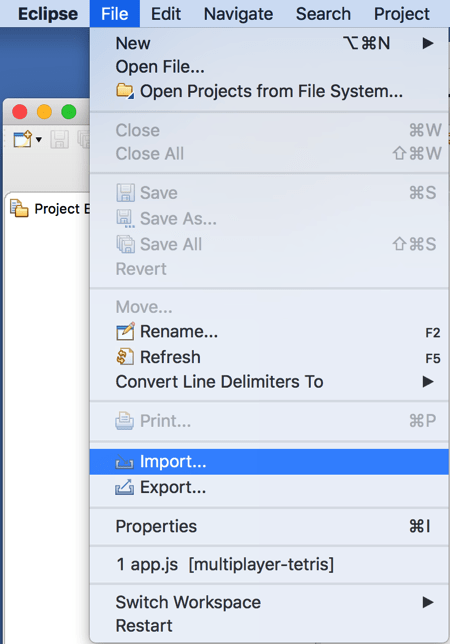
Import the project directly from github.com with the following procedure. Right-click on Project Explorer and select File -> Import …
Select Git -> Project from Git and click the Next button.

Select Clone URI and click the Next button.

On the next page, insert the URL https://github.com/sasadangelo/multiplayer-tetris and click Next.

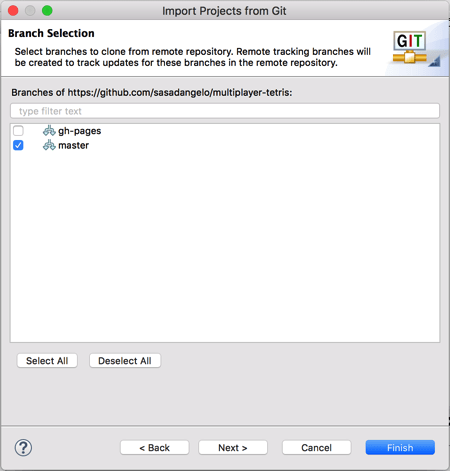
Select the master branch and click Next again.
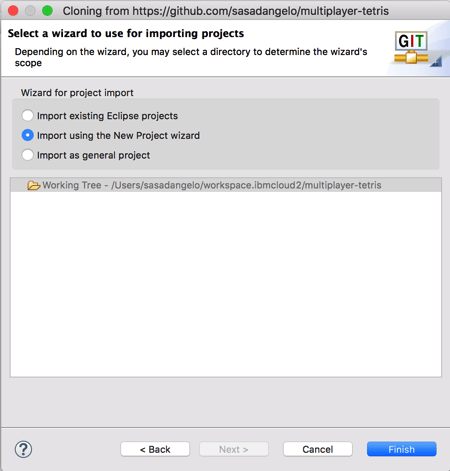
Insert the folder of your workspace and click Next. Select the option Import using the New Project wizard and then Finish, in this way you can create a Node.js project.
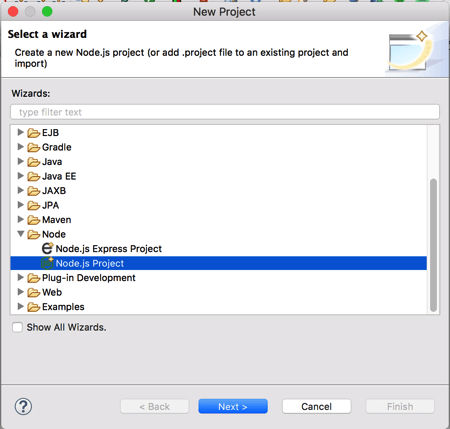
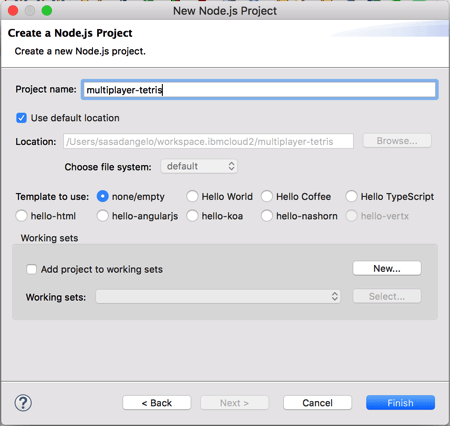
Select Node -> Node.js Project and click Next.
Insert the project name and click Finish.
How to run the application locally with Eclipse
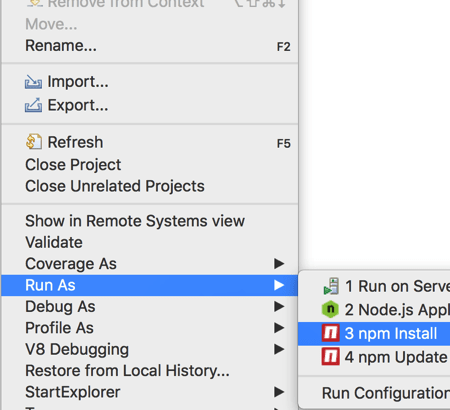
Right-click on the multiplayer-tetris project and select Run as -> npm install to install locally all the dependencies.
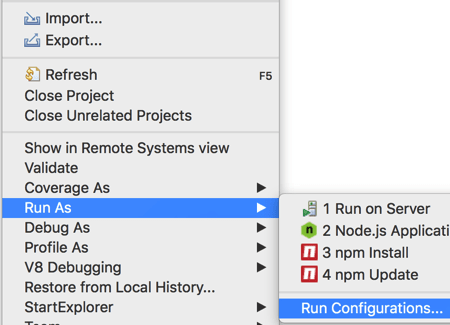
Right-click again on the multiplayer-tetris project and select Run as -> Run Configuration …
Select the Node.js application and press on the New button to create a new configuration for this application.
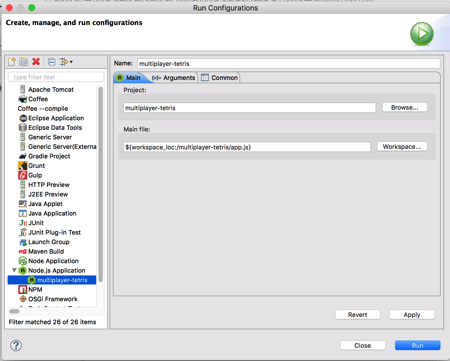
Select the project and its main file (app.js) and click Run. Open your browser and insert in the address bar the address http://localhost:6003.
How to deploy the application on IBM Cloud with Eclipse
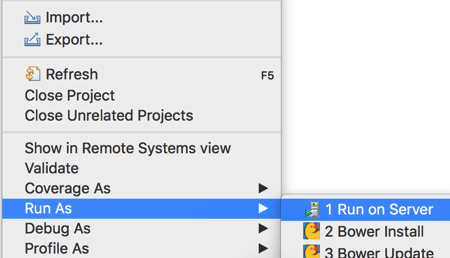
Right-click on the multiplayer-tetris project and select Run as -> Run on Server.
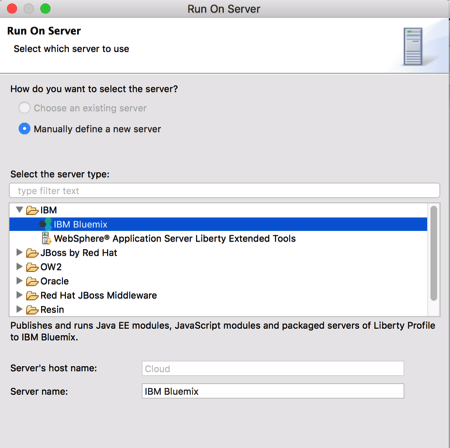
Select IBM -> IBM Bluemix and click the Next button.
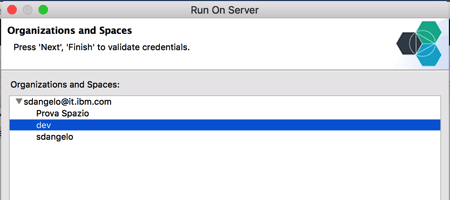
Insert the email address and password of your account and select the region where your workspace is deployed and click on the Next button.

Select your Space and click on the Next button.
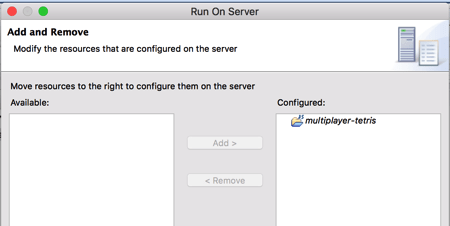
Move the mutiplayer-tetris project on the right and click the Finish button.
At the end of the deploy, you can access the application via URL **https://multiplayer-tetris.
What happens behind the scene?
When we deploy our application via CLI or Eclipse, what happens behind the scene? An answer to this question is really important because it allows us to understand internals on how Cloud Foundry works. When we deploy an application on IBM Cloud Foundry executes a push operation and internally the following steps occur.
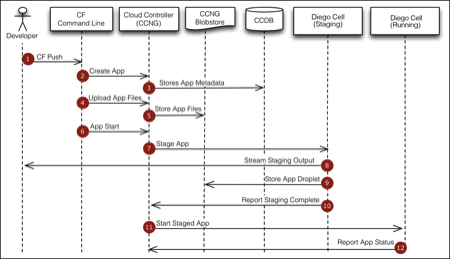
In the previous article, I showed the Cloud Foundry architecture and in this diagram, we can see how the different components interact during a CF PUSH command. When the developer deploys an application via cf push command, the request arrives at the go router that routes it to the Cloud Controller (CC), the brain of Cloud Foundry. Application metadata are stored in the Cloud Controller Database (CCDB). Application files are uploaded on a blob store. A Diego cell is staged where will be the runtime framework (i.e. java, node.js, ruby, ecc.) to run the application. The developer can visualize the staging output to check the result. Once the staging phase is completed, the application is started.

