How to transform your Raspberry Media Center in a NAS
Posted on 13 Oct 2017
In this article, I would like to show you how to transform your Raspberry Media Center in a Network Attached Server (NAS) and share your media files (movies, tv-series, ebooks, music, documents, etc.) across your home network.
I use this feature to browse media files, hosted on my media center, from my PC (Windows or Mac), Tablet or Phone. This is very useful to organize photos, movies, TV series, and read e-books.
Before you read this article I assume:
- you already built your own Kodi Media Center with Raspberry;
- you already configured it.
What is a NAS?
According to Wikipedia, a Network Attached Server (NAS) is:
a file-level computer data storage server connected to a computer network providing data access to a heterogeneous group of clients. NAS is specialized for serving files either by its hardware, software, or configuration. NAS systems are networked appliances which contain one or more storage drives, often arranged into logical, redundant storage containers or RAID.
Network-attached storage removes the responsibility of file serving from other servers on the network. They typically provide access to files using network file sharing protocols such as NFS, SMB/CIFS, or AFP. From the mid-1990s, NAS devices began gaining popularity as a convenient method of sharing files among multiple computers. Potential benefits of dedicated network-attached storage, compared to general-purpose servers also serving files, include faster data access, easier administration, and simple configuration.
The NAS we are going to build, obviously, has some limitations:
- It contains only one Hard Disk;
- No Redundancy/RAID support exists;
- Only Samba protocol will be supported.
With these limitations, if your Hard Disk will be damaged you lost all your data. The reason we need to set these limitations is that NAS hardware usually has higher performance and cost more than a Raspberry card. Moreover, attach more than one Hard Disk requires more Power than the one provided by commonly used Raspberry Power Supplies. The only function we want to preserve is the sharing of data across the home network and make them accessible to heterogeneous devices (i.e. PC, Tablet, and Phones).
Use Samba to share your files across your Home Network
In a Home Network, files can be shared using different protocols (i.e. NFS, Samba, SSH, and so on). Our media center already supports SSH for media files sharing, but it is not suitable to browse them using native programs like Explorer for Windows or Finder for Mac. For this reason, I decided to use Samba for this purpose. Samba is available in the OSMC App Store so the installation is very easy as I’ll show you in the next section.
How to Install Samba on OSMC
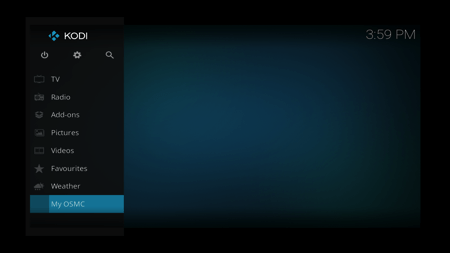
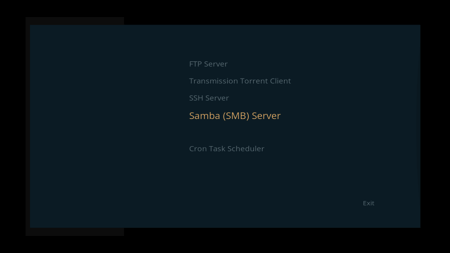
Go on My OSMC and access to the OSMC App Store.
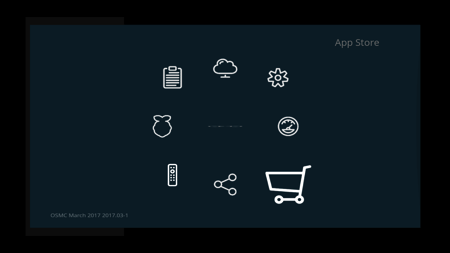
Select the Samba (SMB) Server service to install it on OSMC.
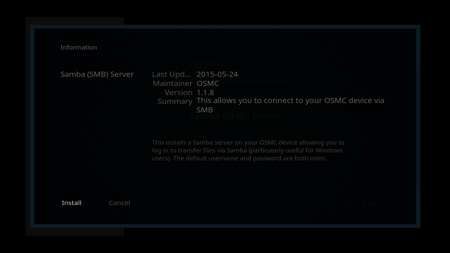
A window will be opened with information about Samba. Select the Install button.
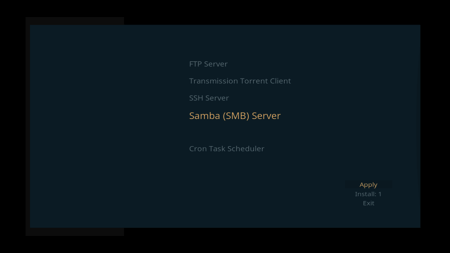
Select Apply and wait until the installation will complete.
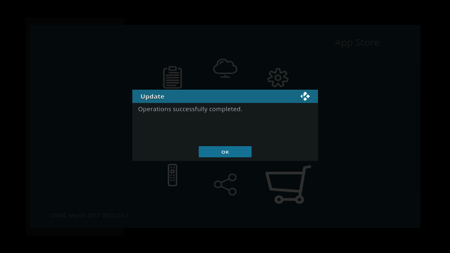
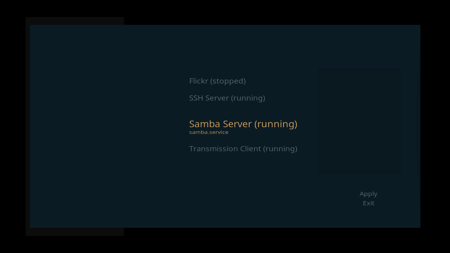
Once the message “Operations successfully completed” appear you’ve done and your Samba server is up and running.
How to Configure Samba on OSMC
Our goal now is to share our /media/KODI folder with all our devices in our domestic network because here is where we have all our media files (movies, TV Series, music, photos, ebooks, and so on). To do that you have to add the following lines to the /etc/samba/smb.conf file:
[kodi]
browsable = yes
read only = no
valid users = osmc
path = /media/KODI
comment = KODI Media
To modify the file you can access the media center using ssh protocol as described in the section Access to your Raspberry via SSH with Putty and Filezilla of this article.
Restart the samba service to make the changes effective using the following command.
sudo service samba restart
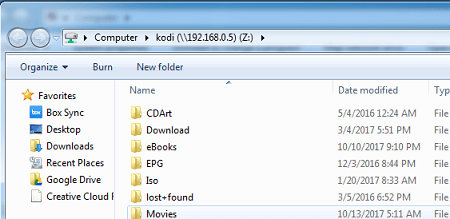
How to view your files from Windows
You can now access your media files from other devices of your domestic network. If you have a Windows machine open Explorer and type the network address using hostname \\osmc.local\kodi or IP _\\
When the system asks for credentials, insert the one for the osmc user.
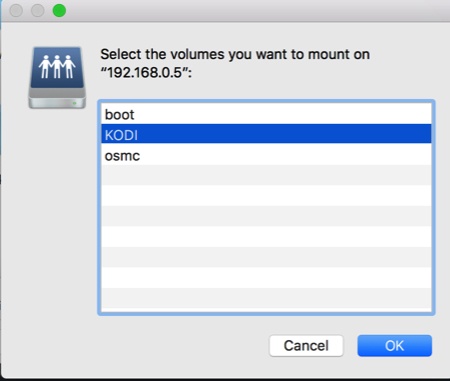
How to view your files from Mac
To access the shared folder on Mac open Finder and click on Go->Connect to Server:

Insert the address \\osmc.local or \\

Then click on Continue and select the KODI shared name:
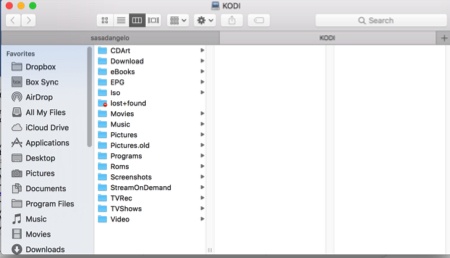
You’ll see your KODI Media Files on Mac:
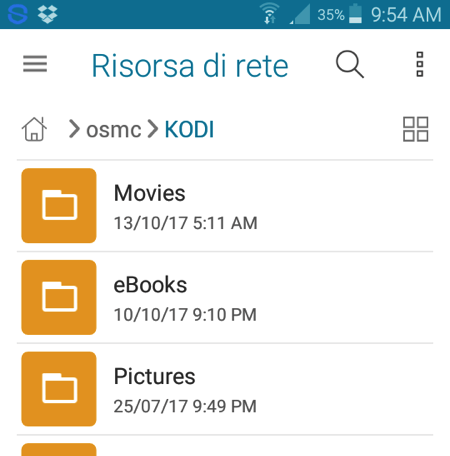
How to view your files from Android devices
To browse files hosted on my KODI Media Center from my Android devices, I use the File Manager app. To access to remote files you can go to Menu -> Network Storage -> Network Resource and click on your OSMC system. From there you can browse your files as shown in the following photo.