
How to install Android Studio
Posted on 14 Sep 2018
This is the second article of the Android Game Programming series. Here I would like to explain, step by step, how to install and configure Android Studio. It is the development environment that we will use to create our video game.
Android Studio is based on the IntelliJ platform and was developed by Google, it is the official software to develop applications for Android. The software is free and can be downloaded from this website.
The procedure to install it is really simple because you need to launch the downloaded executable file and follow the proposed panels.
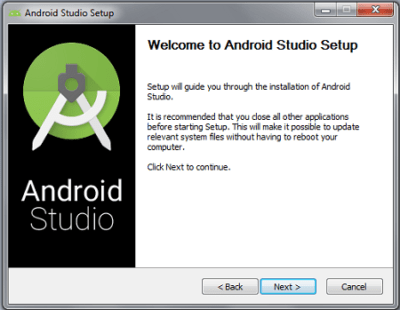
When the installation program starts, the Welcome to Android Studio Setup panel will appear, click on the Next button.
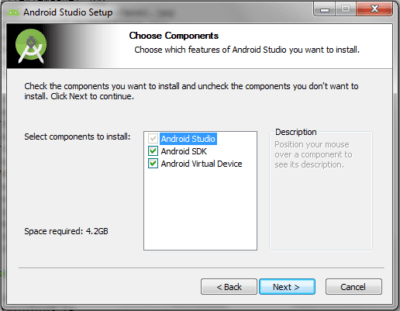
In the Choose Components panel, leave the default and click on the Next button.
Click on the I Agree button in the License Agreement panel.

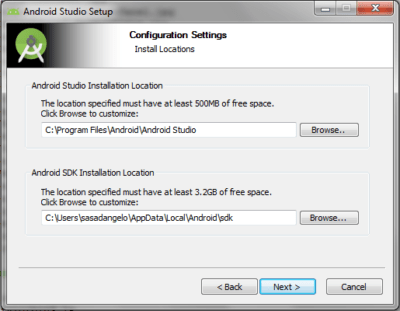
In the Configuration Settings panel, choose the installation directories of Android Studio and Android SDK and click Next.
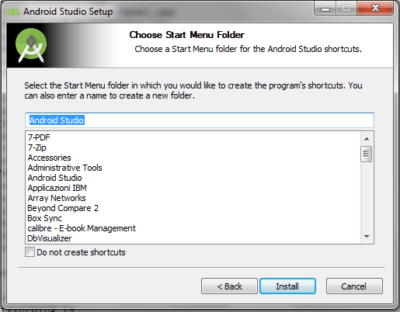
In the Choose Start Menu Folder panel leave the default and click on the Install button.
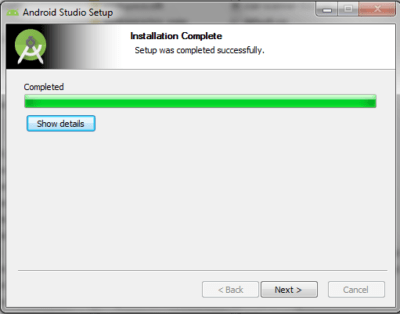
When the installation finishes, press the Next button.
In the Completing Android Studio Setup panel click the Finish button.
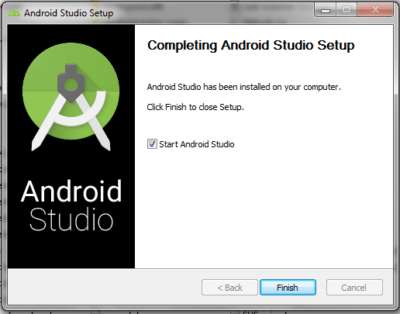
Android Studio is installed and ready to run.
How to configure Android Studio
After installing Android Studio you need to start the program and run a simple configuration wizard. In this procedure, it is sufficient to leave the default values and always press the Next button and, finally, the Finish button. This is the procedure in detail:
- Start Android Studio.
- Enter the Welcome panel and click the Next button.
- In the Install Type panel, leave the default values and click the Next button.
- Go to the Verify Settings panel and verify the inserted values and click on the Finish button and then on Finish button again.
The procedure described above is available in video format at the following link.
What’s next?
Now that you’ve learned how to install and configure your development environment, it’s time to create our first Android Hello World application that will be the starting point of our video game.

